

The Bubble Shirt
In order to create an inclusive collection, there needs to be some easy basic pieces that anyone would love in their wardrobe. By putting a fresh spin on a basic shirt, I am giving women a wearable layering piece that can take them from boardroom to bar.
Fabric manipulation is your best friend, it elevates even the simplest of pieces and makes it unique to you. The Bubble Shirt is a lovely organza oversized shirt with a floaty bishops sleeve and hand-pressed bubble fabric manipulation. These bubbles shrink the size 20 piece right down to fit a size 10, but still allows complete stretch through the sizes to hug the wearer's body. The sheer fabric shows off the wearer's unique skin tone, allowing them to be that pop of colour in the colour palette.


Let's start with the basics. A good shirt pattern is an absolute must-have in our kits, this one has included a nice big sleeve to give a billowy effect. Once you have a block you know works, you can come back to it again and again.
You can see how this one doesn't quite fit the size 10 mannequin, so before I can even start to change it we need to get that right. This is why toiling your designs is so important so you can see where things aren't working!
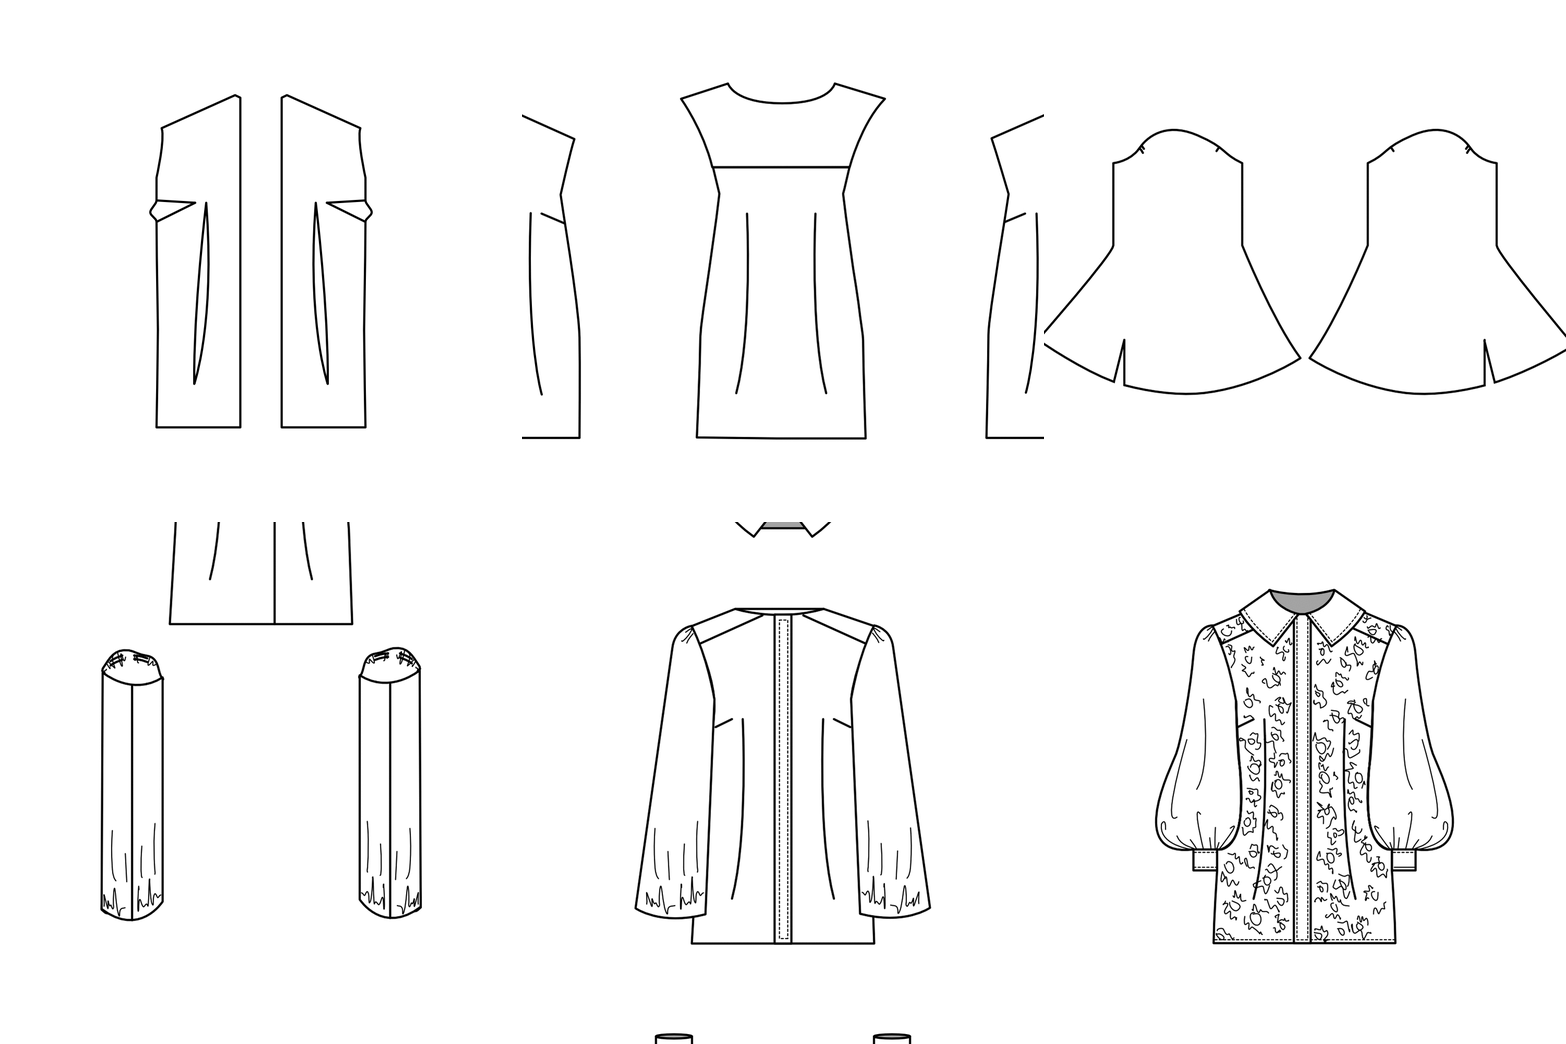
This particular design is based around a fitted shirt with yoke, a bishops sleeve and a concealed button stand. For tips on construction, see the animation above.
Once you have tweaked your pattern to fit how you like, it's time to grade. If you have created your own block from scratch you may not need to do this step, but if you have bought patterns or used blocks they tend to be made in around the size 10 mark.
The average woman in the UK is a size 16, so keep that in mind as you are grading. In order to eradicate the use of size charts, garments need to be multi-sized. I chose to make sure my garments would fit between a size 10 and a 20, as this encompasses the vast majority of UK bodies. I graded all my garments to a size 20, then chose various methods to shrink the garments down. The bigger your size gap, the more difficult it is to get a good fit so bear that in mind.
Remember, bodies don't just grow in and out...we also go up and down. Make sure you are allowing for height and proportion variety, or you will find a lot of people will struggle to fit nicely into your garments.
For a detailed grading guide click HERE.

You may want to toile a second time to see how your newly graded pattern fits. By toiling in your largest size, you can start to see how the piece will shrink back in to your smaller sizes.
It is at this point you can start to think about finishings and fabrics. I chose a lightweight, sheer organza to show off the wearer's skin. Rather than choosing not to see people's differences, let's showcase and celebrate the beauty in diversity. Bodies are beautiful, get them out!!
I chose to leave hems raw, letting the fabric delicately fray and fall apart. I wanted to emulate how beautiful fragility can be and this fabric is perfect to show this off.
So you have your pattern, your fabric and you know how you want it to look like. It is now time to get making. Organza is a slippery fabric to work with, so you may want to lay down a few sheets of pattern paper and pin your fabric to that to keep it steady as you cut. Alternatively, you can use a rotary cutter and mat to cut your pieces.


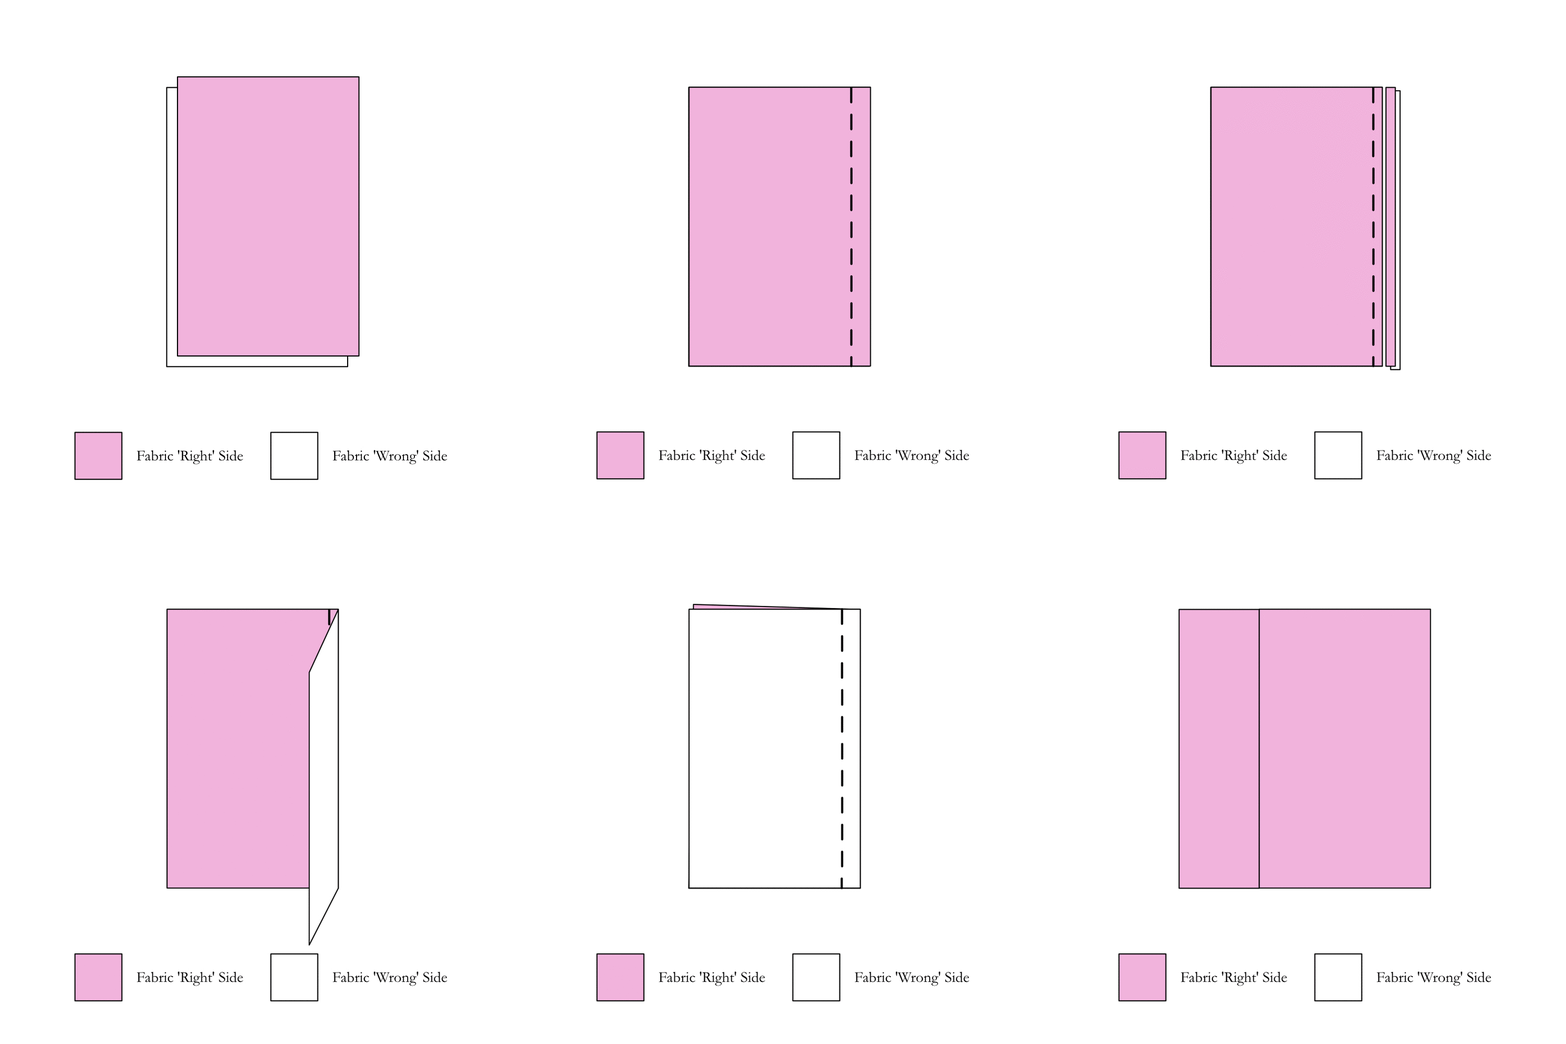
When working in lightweight fabrics, a high-end finish is to use a French Seam. This keeps all raw edges neatly tucked in and keeps the seam strong without adding the extra bulk of overlocking. Allow this in your seam allowance on your pattern, the standard is a 2cm seam allowance for French Seams. It is easier to trim off more excess than struggle with small tolerances, especially when working with these lightweight fabrics.
Take your time making, the concealed button stand is particularly difficult with organza. I recommend having a mannequin or willing model to hand, keep putting your piece on and off to see how it comes together. Finish everything off with buttons on the cuffs and down the button stand to fasten. The entire piece must be made first before attempting the bubble effect as the fabric shrinkage will affect how the pattern fits together, making sewing impossible. It also means you can place your bubbles more effectively.


Creating the bubble effect took a lot of experimentation, you can choose to do this in so many ways to create a similar effect. The idea behind this was to create something that expanded in all directions. To recreate something similar, simply dampen your fabric and tie in lots of objects using tight elastic bands. I chose to use coins as a little nod to the issue with consumerism creating a commodity of our bodies. Wait until the fabric is completely dry then steam with a really hot iron or hand steamer. Allow the fabric to completely cool before releasing the elastic bands.
Once the bubble effect is complete, you have a delicate multi-sized shirt that expands in all directions. I added some tears, frayed edges and hanging threads to give a feeling of deconstruction. Our bodies are not perfect, and that it beautiful, so having a perfectly 'finished' piece felt strange.


